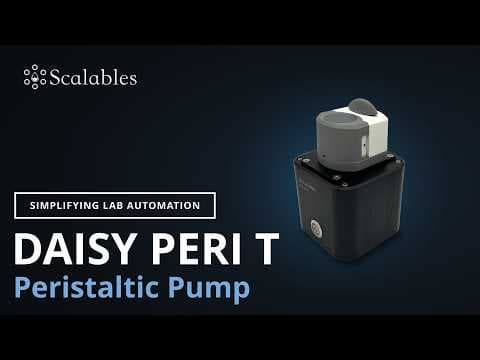
Set up the Scalables Daisy Peri P precision peristaltic pump from tubing assembly to a calculated calibration value. This video covers cartridge installation, connecting to power, using the Daisy Controller Software, priming the tubing, calculating calibration value, and cleaning the pump after use.
Daisy Peri P Quickstart: Setup, Priming, and Calibration
The Scalables Daisy Peri P is a precision peristaltic pump built around a cartridge-based tubing system for fast, repeatable setup. This guide walks through everything shown in the Quickstart video, with additional detail.
Cartridge and Tubing Installation
The Peri P contains 2 cartridges. To remove a cartridge, press the lock arm on one side to release it, then rotate the cartridge on the other side to lift its hook off the bar. The Peri P works with silicone tubing or PharMed BPT with end-stoppers with a minimum OD of 2 mm and a maximum OD of 5 mm. Select tubing material based on chemical compatibility.
Tubing installs between two of the cartridge's three stopper positions. Having three stoppers means two usable tubing segments: when the first segment becomes too stretched from use, switching to the second roughly doubles the tubing's usable life before it needs replacing.
To install the cartridge with tubing, hook one side around the bar and press in on the other side until it clicks into place. Then engage the pressure lever, and use the pressure knob on the lever to fine-tune tension to match the tubing's outer diameter. As tubing stretches over time, adjust the pressure knob to maintain consistent flow.
Power and Computer Connection
Connect the power supply to the Daisy. Then connect the data cable — the micro USB end into the Daisy, and the USB-C end into a computer.
Using the Daisy Controller Software
Open the Daisy Controller Software and click the instrument refresh button to detect the connected Daisy. The instrument list shows which group and index the Peri P occupies. The right panel shows the parameters available to control, like flow rate and total volume to dispense. The Peri P has a max speed of 150 rpm, which results in a max flow rate of 2.5 times the calibration value. Pump direction can also be switched between clockwise and counterclockwise here. This allows you to use the pump to dispense liquid and then aspirate if needed. When selecting the tubing ID/OD the predicted calibration value autofills. This is only a predicted calibration value based on the tubing size. For accuracy, the calibration value (ml/min at 60 rpm) must be calculated based on application set up and re-calculated as tubing wears.
As an example, tubing with a 1.14 mm ID and 2.86 mm OD autofills a predicted calibration of 3.9 mL per minute at 60 rpm. The max flow rate when using this tubing is 9.75 ml/min.
Priming the Tubing
Before running any application, prime the tubing to fill the line with liquid and purge any trapped air. In this example, the flow rate is set to 6 mL per minute and the volume to dispense is 2 mL. Select a flow rate and volume, if the tubing is primed before the end of the run, click “Stop” to interrupt the pump, if it is not primed, repeat the run or adjust the volume dispensed. Continue running until liquid flows steadily from the outlet.
Calculating a Calibration Value
As mentioned above, calculating a calibration value is vital for accuracy. In the Daisy Controller Software, click “Open” and select the assay file PeriP_calibration_60rpm. This script assists in calculating the calibration value at 60 rpm. Fill in the predicted calibration value to calibrate(). Tare a collection vessel on a scale. This script sets the predicted calibration value and runs the pump at the predicted calibration value, canceling out to the constant that corresponds to 60 rpm. A large placeholder is called for the volume to dispense. Since wait is set to False, there is no wait in running the run() and counting down from 60 seconds until the pump is stopped by stop(). Weigh the collected liquid.
If the liquid's density is the same as water (1 g/mL), the weight in grams converts directly to volume in mL. In this example, collecting 4.04 g over 60 seconds gives a calibration value of 4.04 mL per minute at 60 rpm. For solutions with a different density, divide the grams by density in g/mL to get the calibration value.
Cleaning After Use
After using the Peri P, clean the tubing with DI water. Following the water rinse, remove the inlet tubing from any liquid and run the pump briefly to purge the line with air, helping it dry before storage or the next use.